|
|
|
This tutorial ties in with the importing the animation to Bryce. Once you have rendered an animation you can have objects in your Bryce scene play back the animation.
|
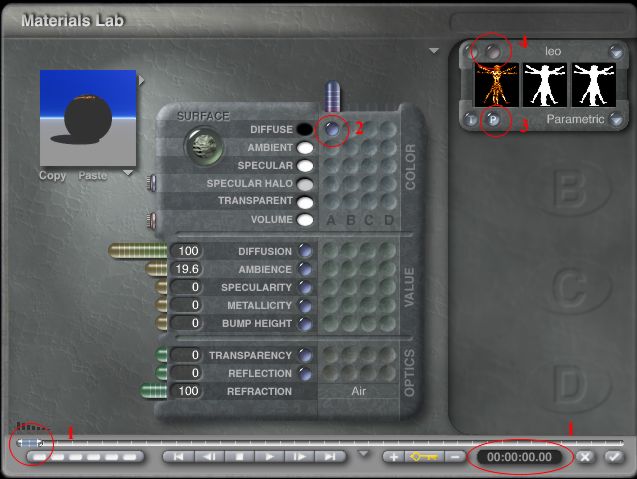
Step 1 : Select an object that you wish to play the animation on. Click the little m to go into the material editor. 1) Make sure the time scrubber is at frame 0 (or where you wish the animation to start) 2) Place a marble in the diffusion channel 3) Click the P to select picture texture 4) Click the button circled by #4 to bring up the picture editor |
|
|---|---|
|
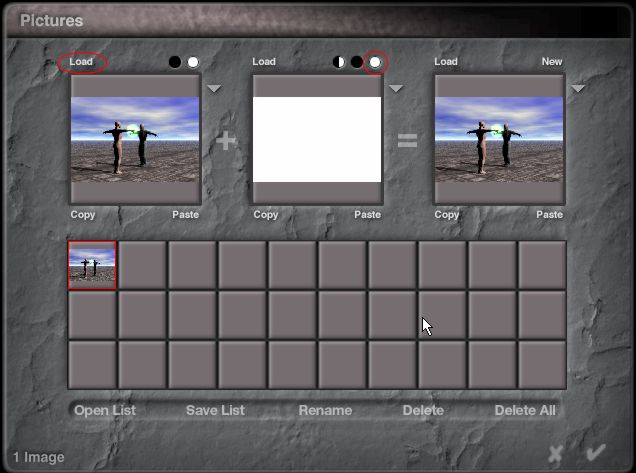
Step 2 : If you still have the sequential .bmp's from your renders you can use them, you won't need them all just enough to use for Bryce to extrapolate the other frames. Otherwise you'll have to extract the frames you need from your movie file with an image editor program. Select an empty square then click load to load the image you wish to start with. If you don't need the alpha channel then just click the white circle otherwise click load in the second set and load your alpha channel. Once you have your image loaded click check. |
|
|
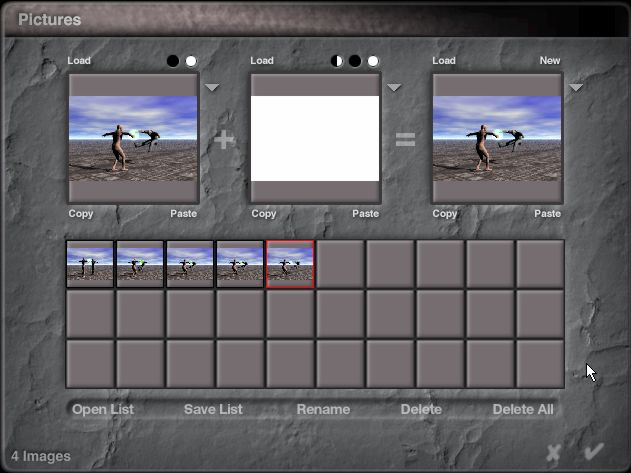
Step 3 : Depending on how many frames you wish to use will determine how much you have to move the time scubber. This was a 1 second animation at 30 frames per second. I decided to use 5 frames , 1 keyframe at each of the following frames: 0, 7, 14, 21, 29. At each keyframe you wish to set move the scrubber and go into the picture editor to load that frame's picture. Bryce will interpolate the frames between each keyframe that you set thus forming the entire animation without having to use all the frames in the animation. The more frames you use the smoother the transitions will be between keyframes. |
|
|
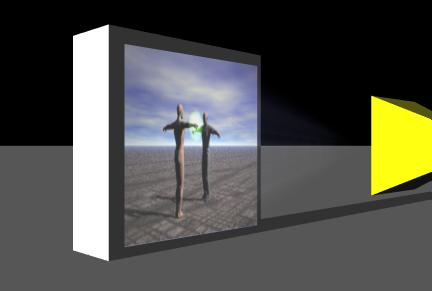
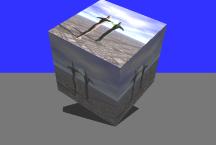
This method can be used as gels on spotlights (usually square) to act as projectors like a movie screen. |
|
|
Sample AVI (520 kb) |
|
You are visitor 

 to this
page
to this
page